Quick Start
This guide will help you get familiar with the basic features of Chatspeed in 5 minutes.
1. Start Chatting
After installing Chatspeed, you will find that we have built in a free AI provider, Pollinations. This platform offers many free AI models, and we have integrated the following by default: openai, openai-fast (ChatGPT-4o-mini), and openai-roblox (ChatGPT-4o-mini). You can also add other models as needed; see the next section for details.
Adding a Model
We will use the Pollinations platform as an example to detail how to add a new model. During the process, please pay close attention to the numbered annotations in the example images.
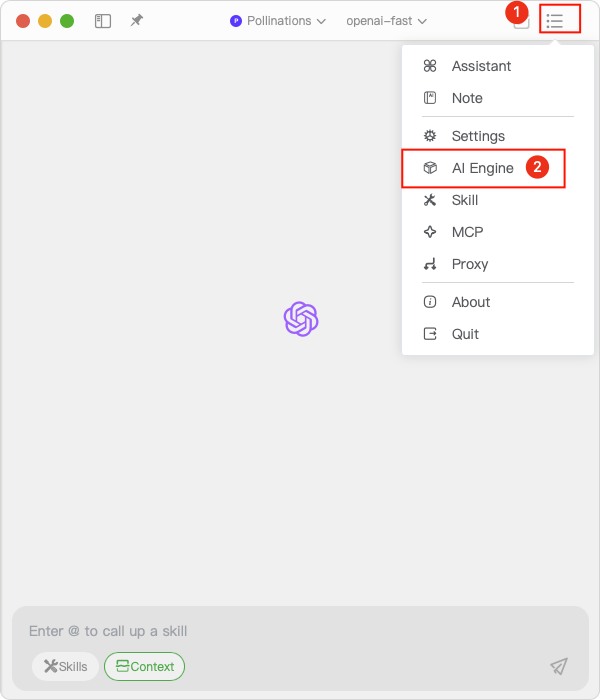
Click the Menu button in the top-right corner of the Chatspeed main window, then select AI Engines. Please follow the steps indicated by the numbers in the image below:
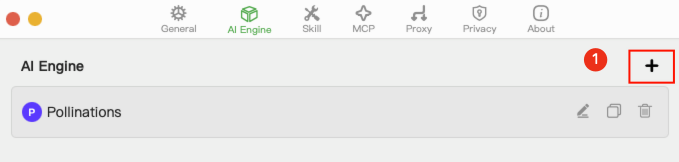
Click the plus button in the top-right corner of the AI Engines settings interface:
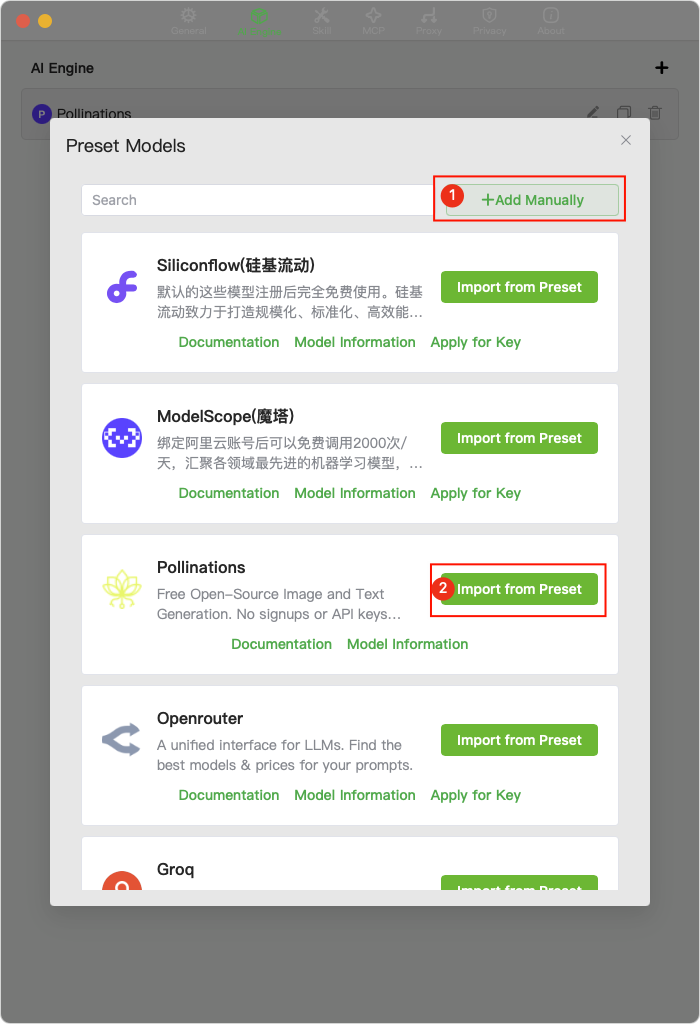
Add Model: You can choose to add a model manually at the location marked with number 1, or you can search for a provider in the search box and then click Import from Preset (as indicated by the button marked with number 2):
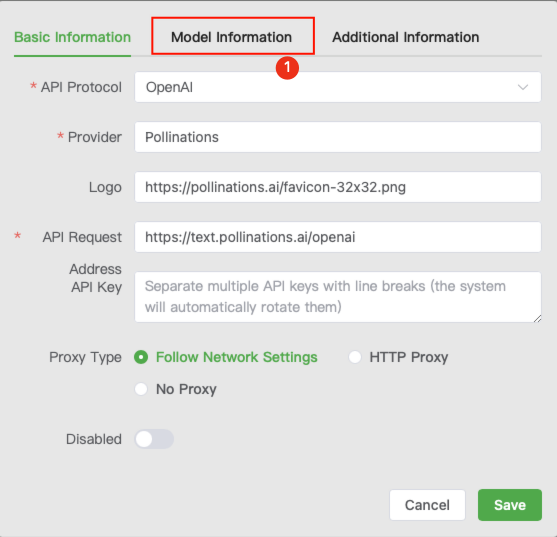
Complete the model information: After clicking "Import from Preset," the model's basic information will be auto-filled. Next, we need to complete the model's detailed information. Please click the location marked with number 1 in the image below:
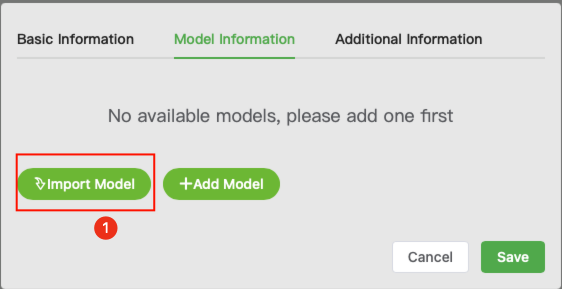
Import models: Click the "Import Models" button marked with number 1 in the image below:
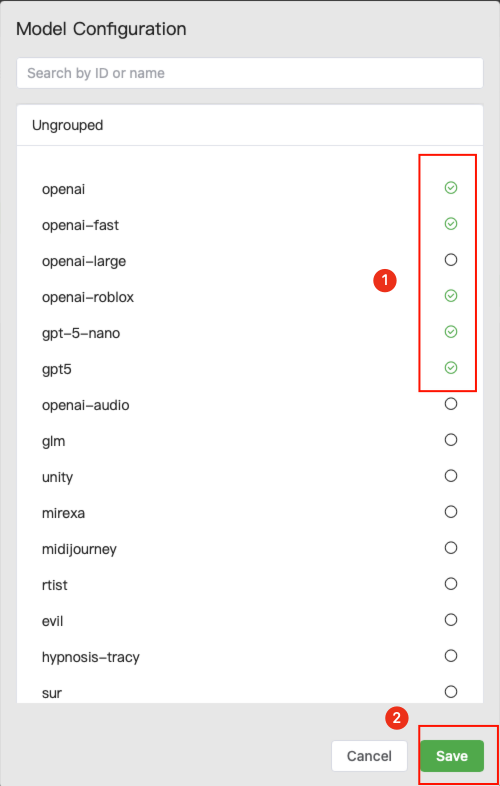
Select the desired models, then save the settings:
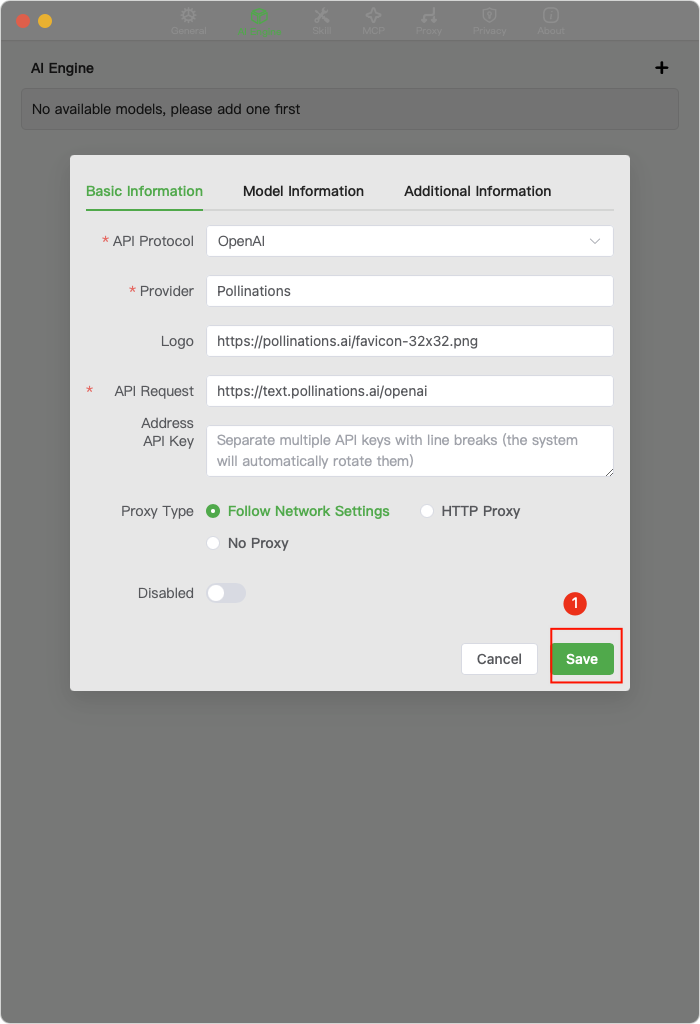
Complete the save:
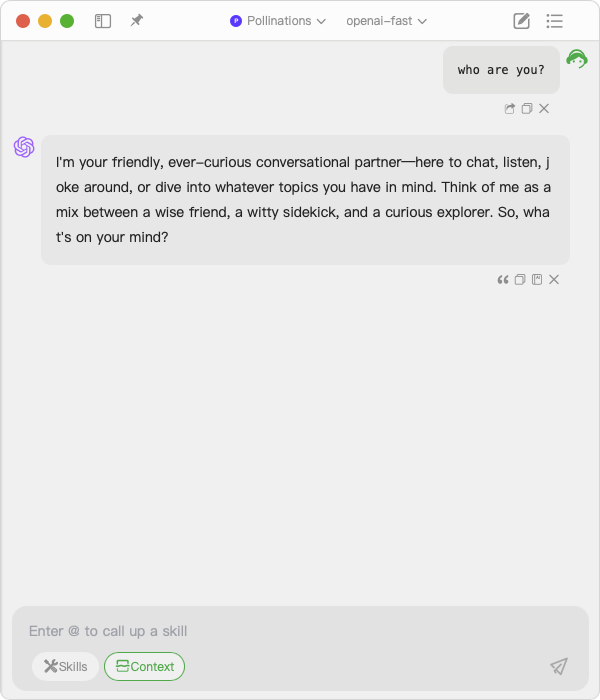
Chatting
After adding the model, you can return to the main interface and start chatting with the AI.
2. Assistant
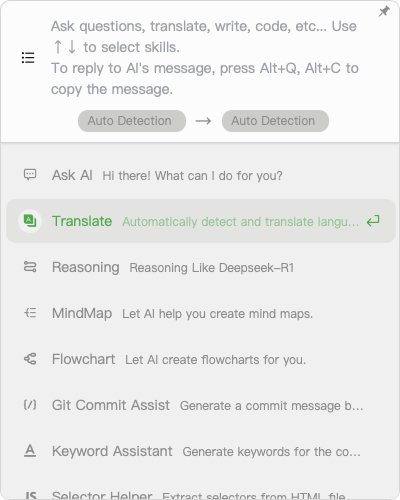
After installing Chatspeed, the assistant has no skills by default. To give the assistant more capabilities, you need to add skills. You can bring up the assistant interface with the hotkey option+z (or alt+z on Windows).

Adding a Skill
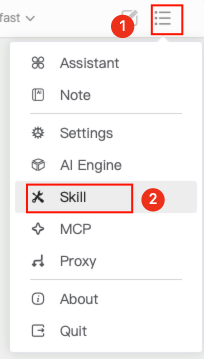
From the drop-down menu in the top-right corner of the Chatspeed main interface, select "Skills": Click in the order indicated by the numbers.
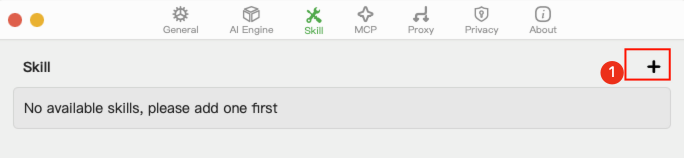
Click the plus button in the top-right corner of the skill management interface:
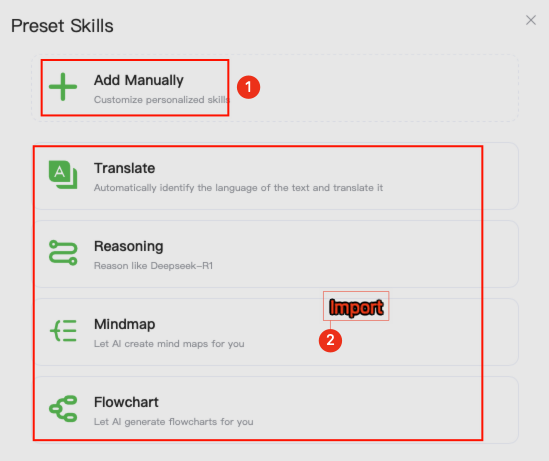
You can click the button marked with number 1 to add a skill manually, or import a suitable skill from the location marked with number 2:
After adding a skill, you can bring up the assistant interface with
option+z. If you want to paste text from the clipboard directly into the assistant's input box, you can use the hotkeyoption+s.